DotWarp - Server-side 3D renderer for .NET
Skip to the end…
You can download DotWarp binaries from two places:
What is it?
Building on top of Nexus and Meshellator, I am pleased to announce the first version of DotWarp, an open source server-side 3D renderer for .NET 4.0. It can be used in a background application (i.e. one without a UI) for rendering 3D meshes into 2D bitmaps.
As the name suggests, DotWarp builds on top of Windows Advanced Rasterization Platform (or WARP). WARP is a software rasterizer, written by Microsoft, which allows Direct3D to be used in situations where it previously could not be - such as on servers without dedicated graphics hardware. WARP will work wherever the DirectX 11 runtime is installed, which at this time is Windows 7, Windows Server 2008 R2, and Windows Vista with the KB971644 update. I have personally tested it on Windows 7 and Windows Server 2008 R2.
DotWarp also makes extensive use of SharpDX. SharpDX is a .NET managed DirectX API, directly generated from DirectX SDK headers. I could also have used SlimDX, but I like the fact that SharpDX is platform independent, so doesn’t require separate builds for x86 and x64. I’d like to give a shout out to Alexandre Mutel, not just for writing SharpDX but also for being very helpful answering my (in some cases dumb) questions about it.
How can I use it?
First you’ll need to add a reference from your project to the DotWarp, Meshellator and Nexus assemblies. The easiest way to do this is via NuGet (just search for DotWarp - that package will bring in all required dependencies), but you can also download the binaries from GitHub. You’ll also need the latest DirectX End-User Runtime.
The only DotWarp class you need to worry about is WarpSceneRenderer. This requires a Scene object, a width and height, and a Camera. The Scene object comes from Meshellator (either loaded from a mesh file or created from a primitive shape), and the Camera comes from Nexus (either created manually or automatically from the scene bounds). The Render method returns a BitmapSource, which is WPF’s bitmap type. This can then be saved to disk, or used however you like.
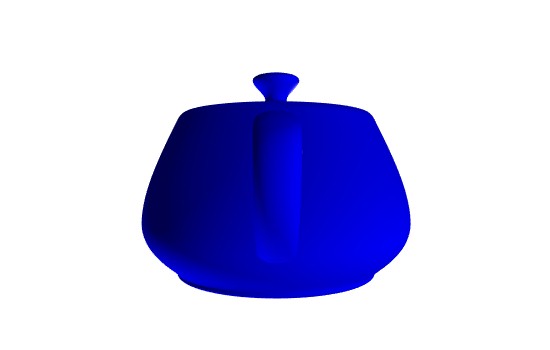
We’ll start simple:
Scene scene = MeshellatorLoader.CreateFromTeapot(10, 20);
using (WarpSceneRenderer renderer = new WarpSceneRenderer(scene, 550, 350))
{
	renderer.Initialize();

	Camera camera = PerspectiveCamera.CreateFromBounds(
		scene.Bounds, new Viewport(0, 0, 550, 350),
		MathUtility.PI_OVER_4, 0, 0, 1);

	BitmapSource bitmap = renderer.Render(camera);

	JpegBitmapEncoder e = new JpegBitmapEncoder();
	e.Frames.Add(BitmapFrame.Create(bitmap));
	using (Stream stream = File.OpenWrite("output.jpg"))
		e.Save(stream);
}
Which results in this, which is not terribly interesting:
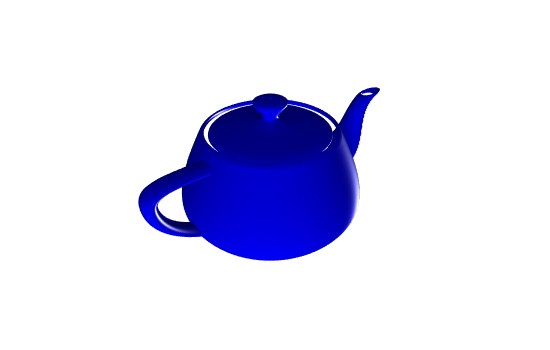
To control the camera, we can setup a PerspectiveCamera or OrthographicCamera with the desired parameters. But it’s hard to get the position and direction right, and I’m lazy, so I like to use the CreateFromBounds method on PerspectiveCamera, which lets you set yaw and pitch like this (angles are in radians):
...

Camera camera = PerspectiveCamera.CreateFromBounds(
	scene.Bounds, new Viewport(0, 0, 550, 350),
	MathUtility.PI_OVER_4, 0.3f, 0.3f, 1);

...
Keeping everything else the same, results in this image, which is slightly better:
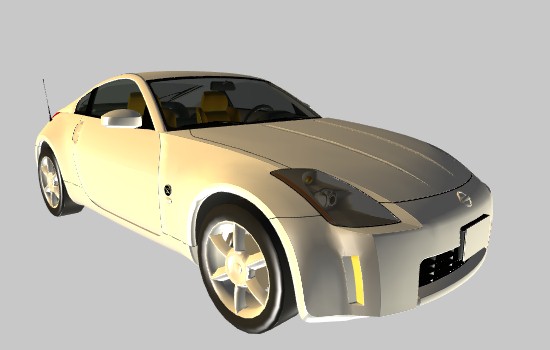
Of course only rendering primitives is not really very useful, so let’s render a mesh from a 3DS file:
Scene scene = MeshellatorLoader.ImportFromFile("Models/3ds/85-nissan-fairlady.3ds");
using (WarpSceneRenderer renderer = new WarpSceneRenderer(scene, 550, 250))
{
	renderer.Initialize();

	Camera camera = PerspectiveCamera.CreateFromBounds(
		scene.Bounds, new Viewport(0, 0, 550, 250),
		MathUtility.PI_OVER_4, 2.5f, -0.3f, 1);

	BitmapSource bitmap = renderer.Render(camera);

	JpegBitmapEncoder e = new JpegBitmapEncoder();
	e.Frames.Add(BitmapFrame.Create(bitmap));
	using (Stream stream = File.OpenWrite("output.jpg"))
		e.Save(stream);
}
That’s a little more interesting:

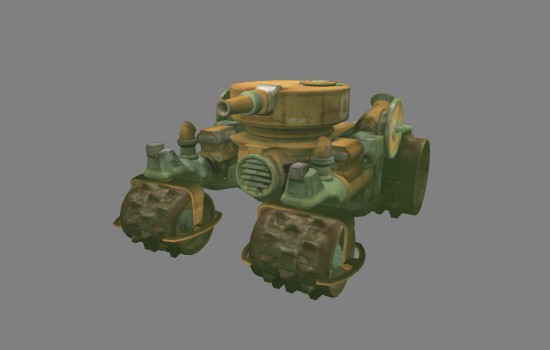
There are a few options that can be configured (not many options in this first version):
Scene scene = MeshellatorLoader.ImportFromFile("Models/Obj/Tank.obj");
using (WarpSceneRenderer renderer = new WarpSceneRenderer(scene, 550, 350))
{
	renderer.Initialize();

	renderer.Options.TriangleWindingOrderReversed = true;
	renderer.Options.BackgroundColor = Colors.Gray;
	renderer.Options.LightingEnabled = false;

	Camera camera = PerspectiveCamera.CreateFromBounds(
		scene.Bounds, new Viewport(0, 0, 550, 350),
		MathUtility.PI_OVER_4, 0.5f, -0.3f, 1);

	BitmapSource bitmap = renderer.Render(camera);

	JpegBitmapEncoder e = new JpegBitmapEncoder();
	e.Frames.Add(BitmapFrame.Create(bitmap));
	using (Stream stream = File.OpenWrite("output.jpg"))
		e.Save(stream);
}
Finally, the camera can of course be positioned manually:
Scene scene = MeshellatorLoader.ImportFromFile("Models/3ds/85-nissan-fairlady.3ds");
using (WarpSceneRenderer renderer = new WarpSceneRenderer(scene, 550, 350))
{
	renderer.Initialize();

	renderer.Options.BackgroundColor = Color.FromRgb(200, 200, 200);

	Camera camera = new PerspectiveCamera
	{
		LookDirection = new Vector3D(-1, -0.3f, 1),
		Position = new Point3D(2100, 1200, -700),
	};

	BitmapSource bitmap = renderer.Render(camera);

	JpegBitmapEncoder e = new JpegBitmapEncoder();
	e.Frames.Add(BitmapFrame.Create(bitmap));
	using (Stream stream = File.OpenWrite("output.jpg"))
		e.Save(stream);
}
DotWarp can also be used from the command line, but the command line tool only lets you specify an input model and an output file, and it positions the camera automatically, so it’s not terribly useful for anything other than testing:
DotWarp.CommandLine.exe "MyModel.3ds" "output.png"
And that’s it! I hope you find this useful - if you have any feedback or suggestions, please let me know with a comment below.